Photography Tips · Brussels
Hair Salon Before and After Photos: Consistency and Client Consent
A before and after only convinces when both photos are taken in the same spot, in the same light, from the same height. Change one of those and people see a lighting trick, not your colour work. The other rule is consent. Your client agrees in writing before her photos go anywhere.
Why most pairs don't convince anyone
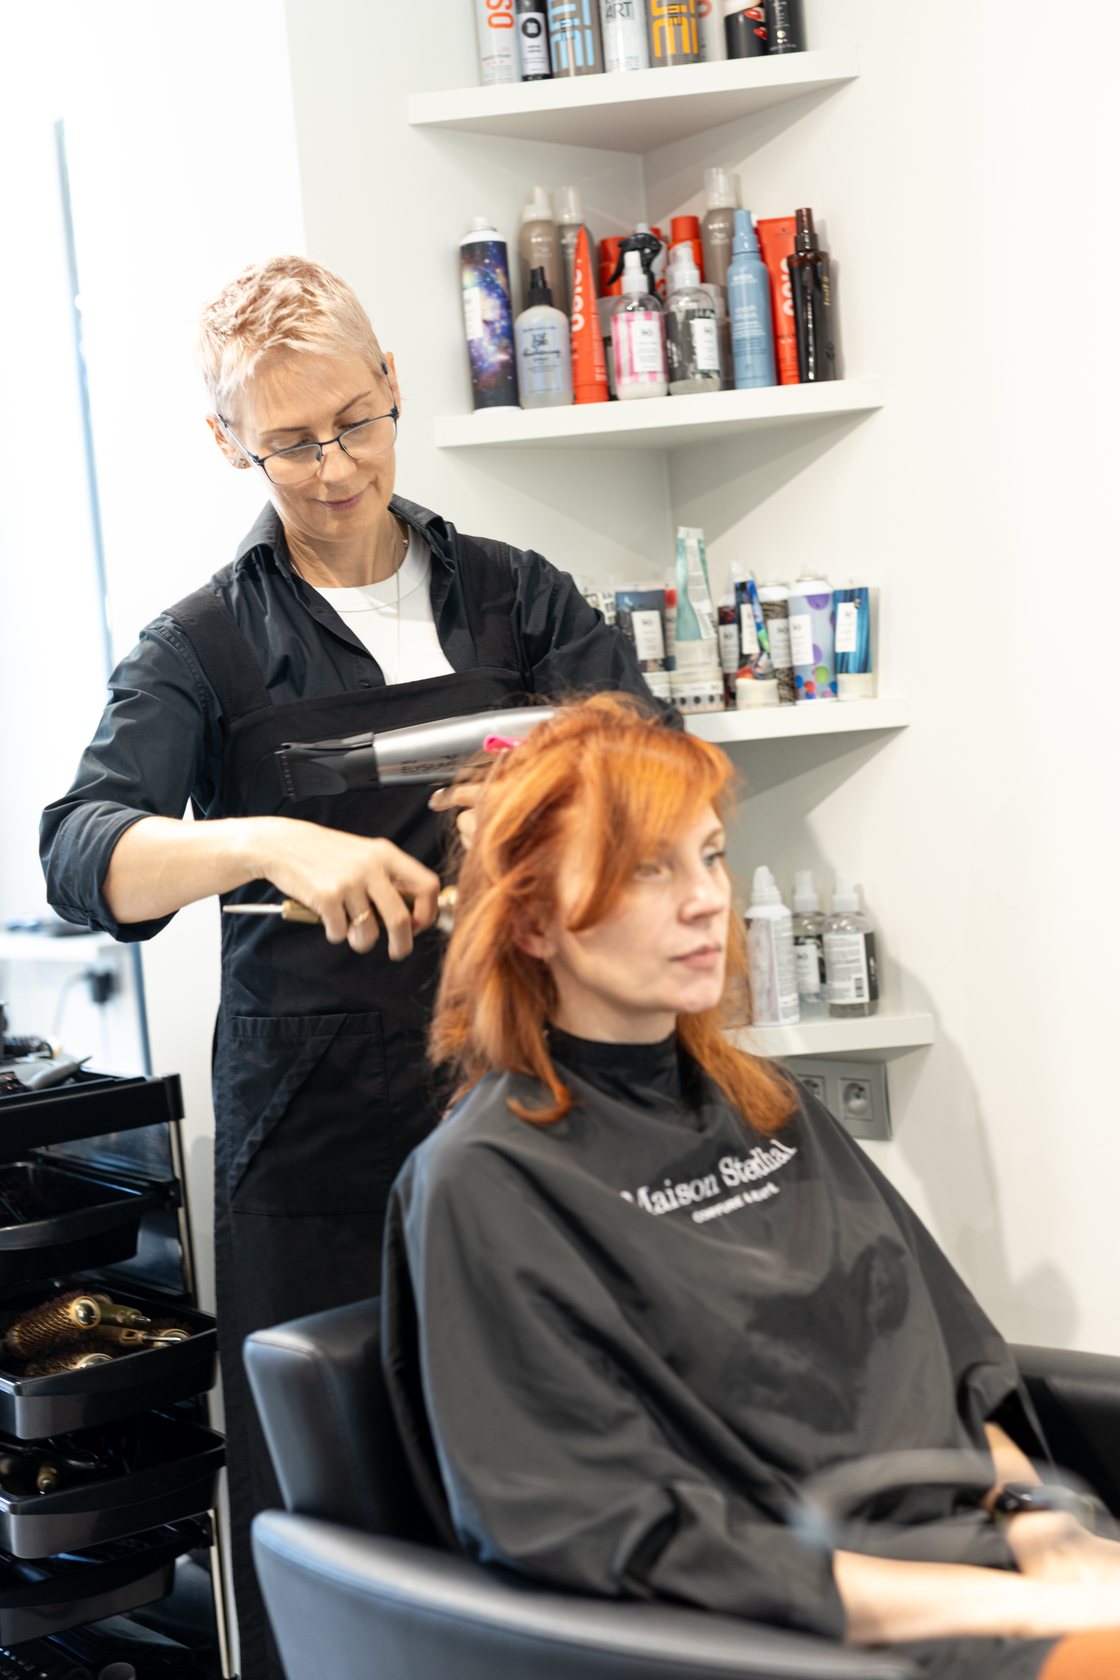
You've seen the classic pair on Instagram. A dull, yellowish before under the ceiling spots, then a bright after next to the window. The colour change is real enough, but it comes from the window, not from the colourist, and clients tend to read it that way.
Product photographers fight the same problem: move the lamp a little and a whole catalogue starts to look patchy. I wrote about it in why product photos look inconsistent, and honestly the logic works just as well for hair.
Pick one corner and never move it
If I could give a salon only one piece of advice, it'd be this. Choose a plain, neutral wall with steady light from one side, and put a small mark on the floor where the chair goes. Window light shifts all day, so a continuous lamp, or at least a spot away from direct sun, gives you colour you can rely on.
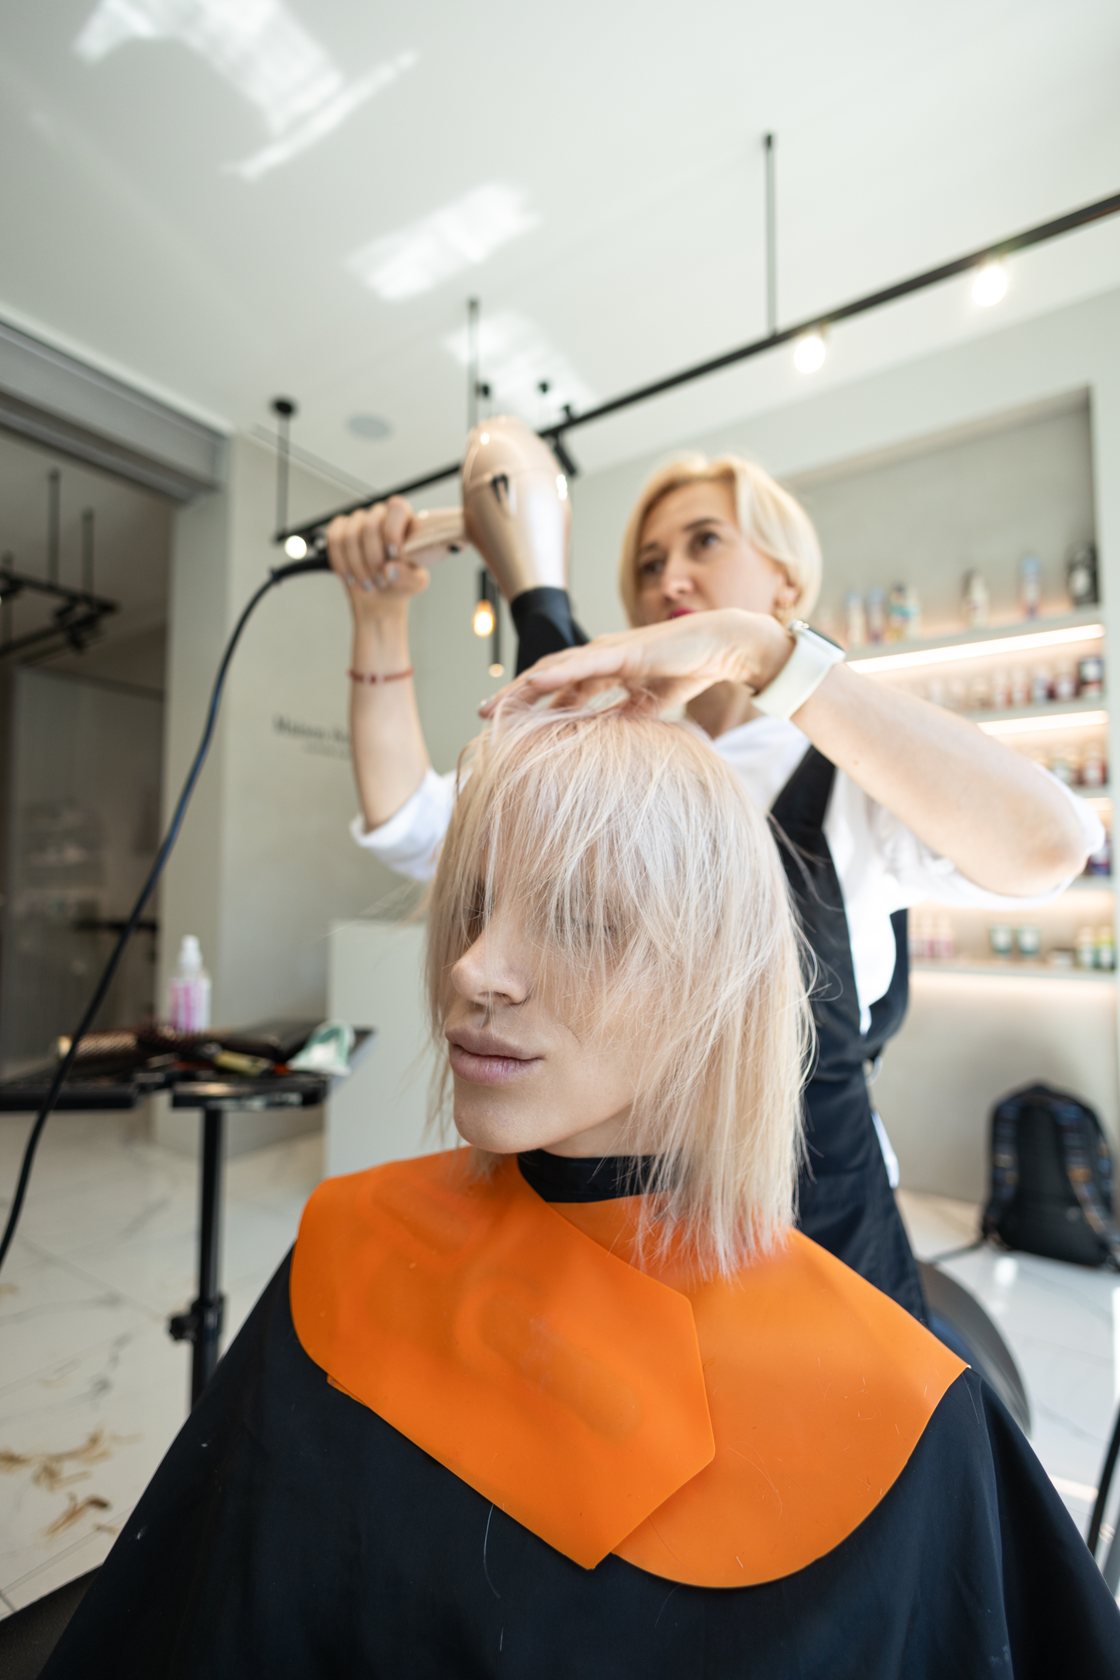
Fix the camera too. A strip of tape on the floor for the phone stand works, or a little tripod that lives in that corner. This boring setup removes most of the variation, and once it's there every stylist can shoot the pair the same way.
What to show in each pair
For colour, I'd show the same side of the head both times, hair dry and brushed the same way. For a cut, the back and a side profile usually say more than the front. Curls get photographed after styling (but skip any shine spray that changes how the colour reads under the lamp).
Keep the retouching honest. Balancing the overall colour is normal. Changing the shade of the hair, or smoothing frizz that's still there, turns a result into an ad, and your client will bring that photo to her next appointment to compare.
Ask before you post
A before and after shows a real person, and people are often recognisable even from behind. So your client signs a short form before anything's published, and the form names the places: your website, Instagram, the Google profile.
It takes a minute at the reception desk. It also lets her pick what she's comfortable with, like back view only or no face at all. What such a form should contain is covered in model release forms explained.
Where I come in
You don't need a photographer for every pair. Where I'm useful is setting up that corner once: choosing the light, fixing the framing, shooting a first series of reference images that your team can then match with a phone. The same visit can cover the salon interior and the team portraits.
The formats for that kind of session are on the price list.
Want a before and after setup your team can repeat?
See my estimate